Working with the client
Files and Folders

Up
The Up button ( ) is used to step to a directory above the directory the user is currently in.
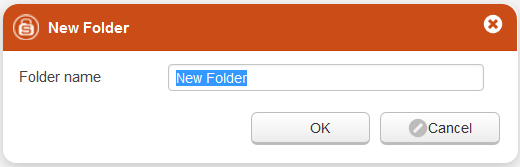
Creating a new folder
Step |
Action |
Screenshot |
|---|---|---|
Click on the New Folder button |
|
|
Enter the name of the new folder |
|
|
Press OK |

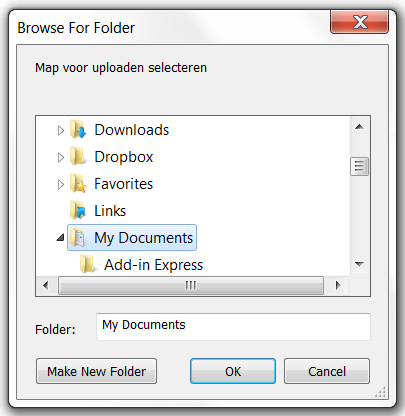
Uploading a folder
Note
This functionality is only supported for Chrome.
Step |
Action |
Screenshot |
|---|---|---|
Click on the Upload Folder button |
|
|
Select the folder that has to be uploaded |
|
|
Press OK |

Uploading a file
Step |
Action |
Screenshot |
|---|---|---|
Click on the Upload button |
|
|
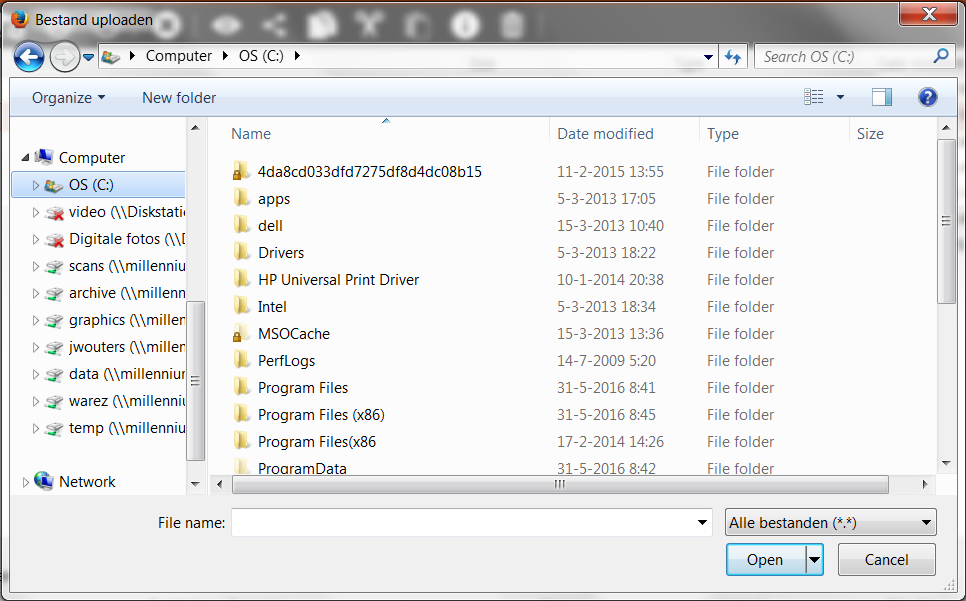
Select the file that has to be uploaded |
|
|
Press OK |

Handling
Copy
The Copy button ( ) is used to copy the selected document to the clipboard.
Step |
Action |
Screenshot |
|---|---|---|
Select the document that has to be copied |
|
|
Press the Copy button |
|
Cut
The Cut button ( ) is used to move the selected document to the clipboard.
Step |
Action |
Screenshot |
|---|---|---|
Select the document that has to be moved to be cut |
|
|
Press the Cut button |
|
Paste
The Paste button ( ) is used to move the document from the clipboard (put there using the Copy button or Cut botton) back to Storgrid.
Step |
Action |
Screenshot |
|---|---|---|
Select the location to were the document has to be moved |
||
Press the Paste button |
|
Delete
The Delete button ( ) is used to remove a document from Storgrid.
Step |
Action |
Screenshot |
|---|---|---|
Select the document that has to be removed |
|
|
Press the Delete button |
|
Download
The Download button ( ) is used to open the selected document or save it to disk.
Step |
Action |
Screenshot |
|---|---|---|
Select the document that has to be opened/saved |
|
|
Press the Download button |
|
|
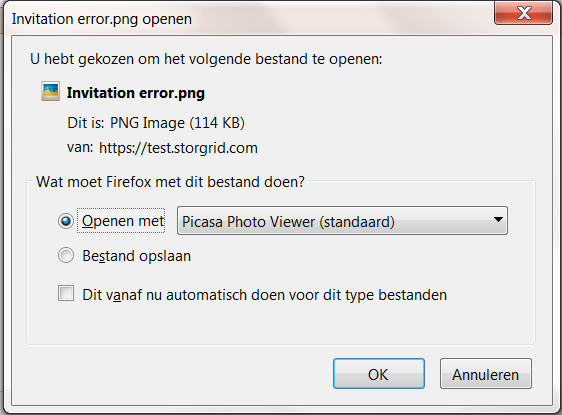
Select if the document has to be opened or saved |
|
|
Press OK |
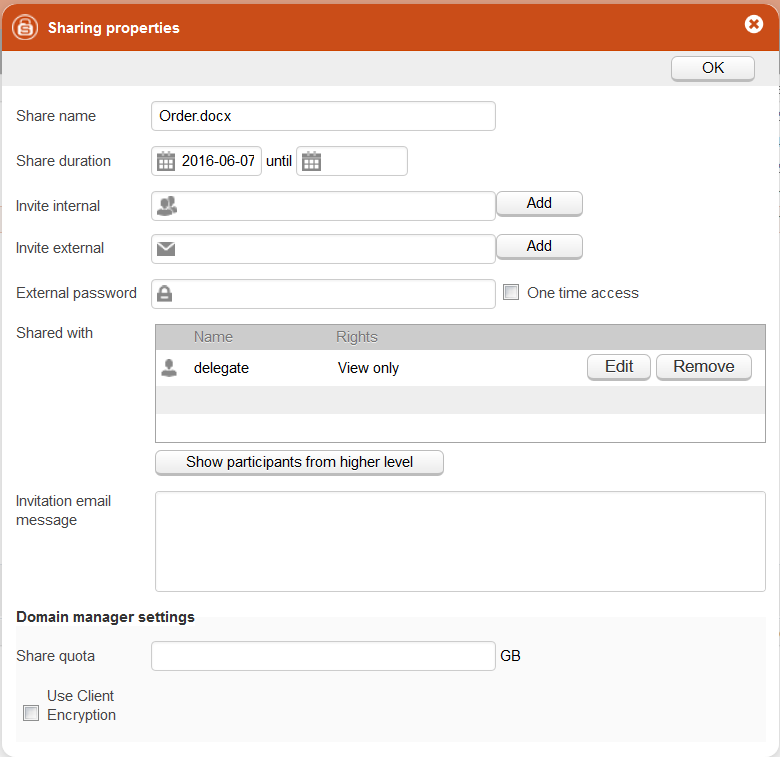
Sharing
The Share button ( ) is used to share the selected document.
When sharing a number of fields can be set:
) is used to share the selected document.
When sharing a number of fields can be set:
Field |
Description |
|---|---|
Share name |
This is name, the user to whom the document is shared,
will see
|
Share duration |
This is the timeframe for which the document stays
shared with the selected users
|
Invite internal |
These are people who have a account in Storgrid
|
Invite external |
These are people who do not have an account in
Storgrid.
Their E-mail address has to be entered.
|
External password |
The password which the external invite has to enter to
get to the document which was shared to him
|
One time access |
Selecting this options restricts the share to be
accessed only once.
|
Invitation email message |
This is the message which will be in the email which
is send when the document is shared
|
Share quota |
This is to restrict the amount of data which can be
add to the share by the person receiving it
|
Use Client Encryption |
This options determines if the document is shared with
Client Encryption
|
To share, follow the steps below:
Step |
Action |
Screenshot |
|---|---|---|
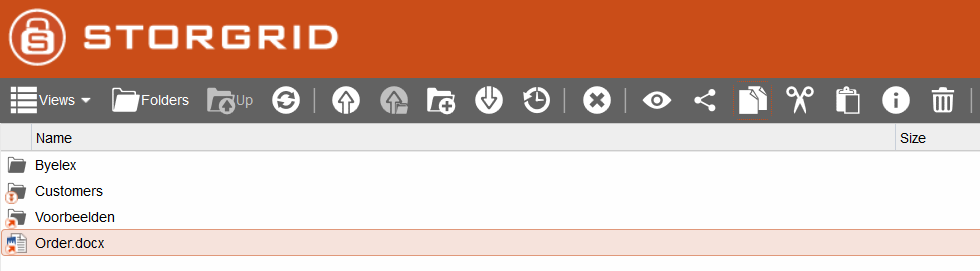
Select the document that has to be shared
|
|
|
Press the Share button
|
|
|
Enter the Share name.
|
|
|
Enter the Share duration.
|
||
Enter the Invite internal and press Add.
|
||
Enter the Invite external and press Add.
|
||
Enter the External password when the document is
shared with an external invite
|
||
Optionally select the One time access option
|
||
Set the share rights for the added invites
|
||
Optionally set the Invitation email message
|
||
Optionally set the Share quota
|
||
Optionally select the Use Client Encryption option
|
||
Press OK
|
Options
Views
The View ( ) option is used to set the way the documents and directories are displayed in Storgrid.
A choice can be made between the following options:
) option is used to set the way the documents and directories are displayed in Storgrid.
A choice can be made between the following options:
Extra Large Icons |
The documents and directories will be shown using
extra large icons
|
Large Icons |
The documents and directories will be shown using
icons that are one size smaller then the Extra Large
icons
|
Medium Icons |
The documents and directories will be shown using
icons that are one size smaller then the Large icons
|
Details |
The documents and directories are placed in a list and
details like Type, Date modified, Last
modified by and Access Level are shown
behind them
|
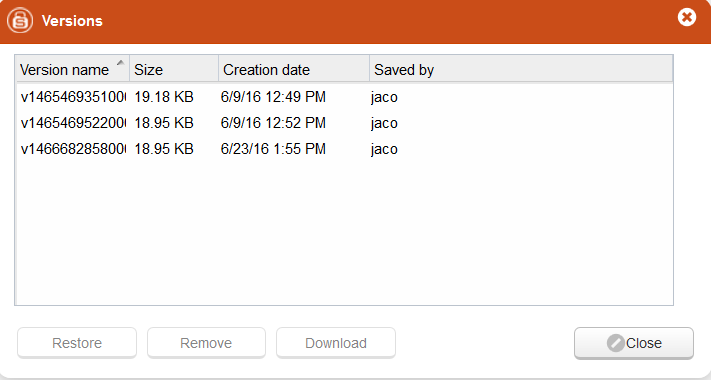
Versions
The Versions ( ) option is used to show the different version of the document.
When the button is presses the screen below is shown. It shows all versions of the document.
) option is used to show the different version of the document.
When the button is presses the screen below is shown. It shows all versions of the document.
Visibility
The Visibility ( ) option is used to show with which users the document or directory is shared and with which rights.
When the button is presses the screen below is shown.
) option is used to show with which users the document or directory is shared and with which rights.
When the button is presses the screen below is shown.

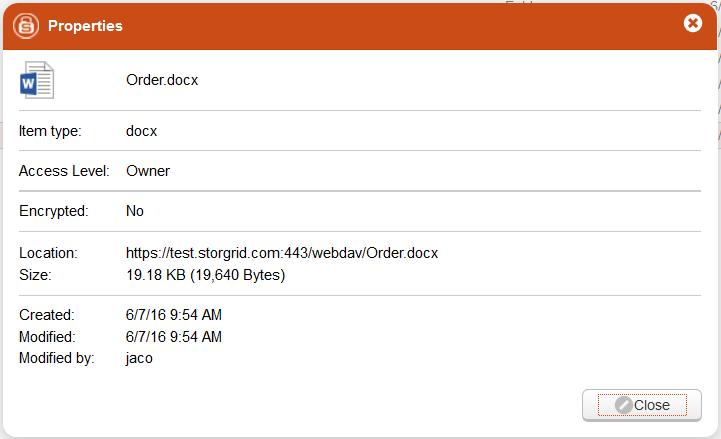
Properties
The Properties ( ) option is used to show some characteristics of the selected document or folder.
When the button is presses the screen below is shown.
) option is used to show some characteristics of the selected document or folder.
When the button is presses the screen below is shown.
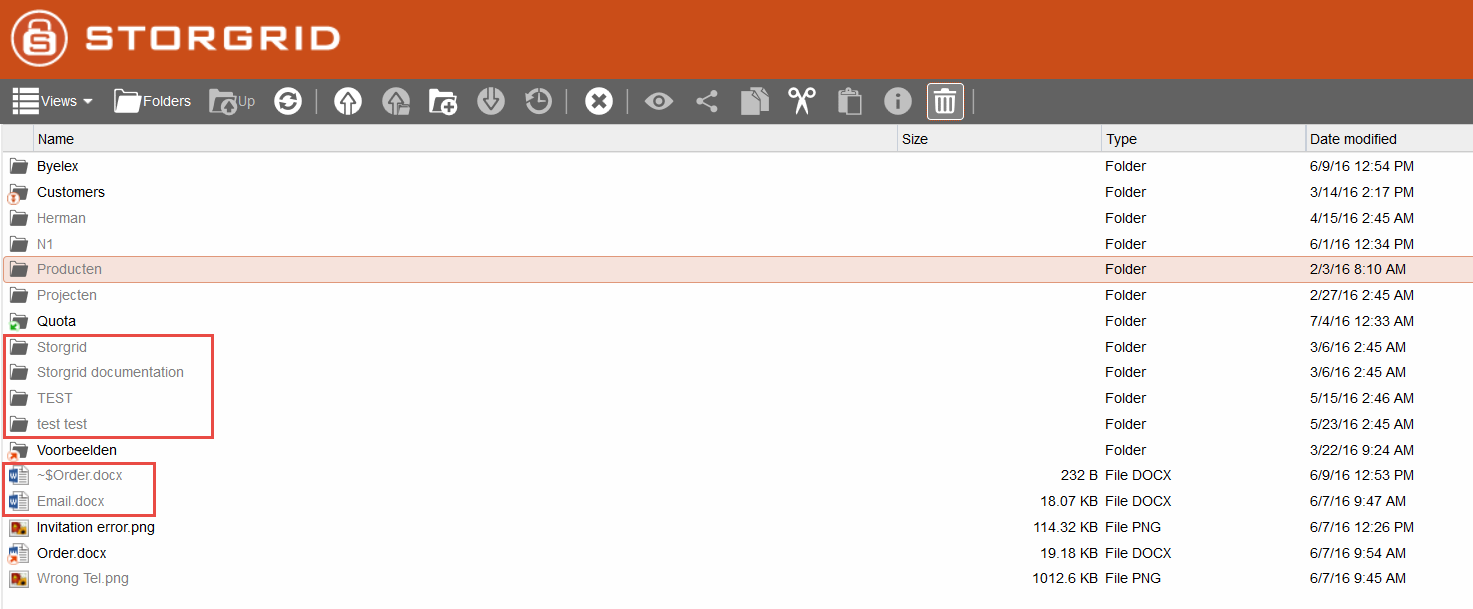
Show deleted
The Show deleted ( ) option is used to show the documents and folders which have been deleted.
When the button is presses the screen below is shown, in which the circled items are the deleted.
) option is used to show the documents and folders which have been deleted.
When the button is presses the screen below is shown, in which the circled items are the deleted.