Getting started
The Android Storgrid Client is a Cloud-based Drive on your computer that works as easily as all the consumer on-line storage services you’re familiar with. You’re using your own private cloud storage environment instead of a public one. Storgrid provides access to your content anywhere, any time, to anyone of your choice via any (mobile) internet device. Just ‘dropping’ the files in your Storgrid Drive and share it. Sharing is a very simple process and collaboration with other co-workers is transparent. Storgrid is easy to use, no learning curve and ‘dropping’ and ‘sharing’ all take place via secure connections (https).
Credentials
There are two ways to setup the Storgrid server, with or without an Active Directory connection. When using an Active Directory connection (LDAP), please use the user credentials of your Windows Active Directory environment. When using the Storgrid local authentication, you should receive a “new user email” to setup your password. Ask your administrator what you should use. Additionally you should receive a Storgrid domain name from the domain/user manager.
Credentials consists of:
Domain Name (e.g. training.storgrid.com)
Username and Password
The client
The Storgrid Android client makes a direct https/WebDAV2 connection to the Storgrid server. The files appear in your Storgrid Android application are the files on the server, unless you switch on the offline folder functionality. Using the swipe function on your files or folders, you can easily share, manage file versions or just view your files. Using the “open with function” you can use any file type when you have installed a program to support the file type.
Downloading & Installing
Is a very easy process. You simply go to the Play Store and navigate to the search bar (Click on Search in bottom bar). Next type “Storgrid” in the search bar and press on search. The first search result is the client you’re looking for, click on the install button to download and install the client. If you only see an uninstall and open button it means that you already installed the client.
Important
After installing you can directly add an account. See “Adding account” in the next part for details.
Important
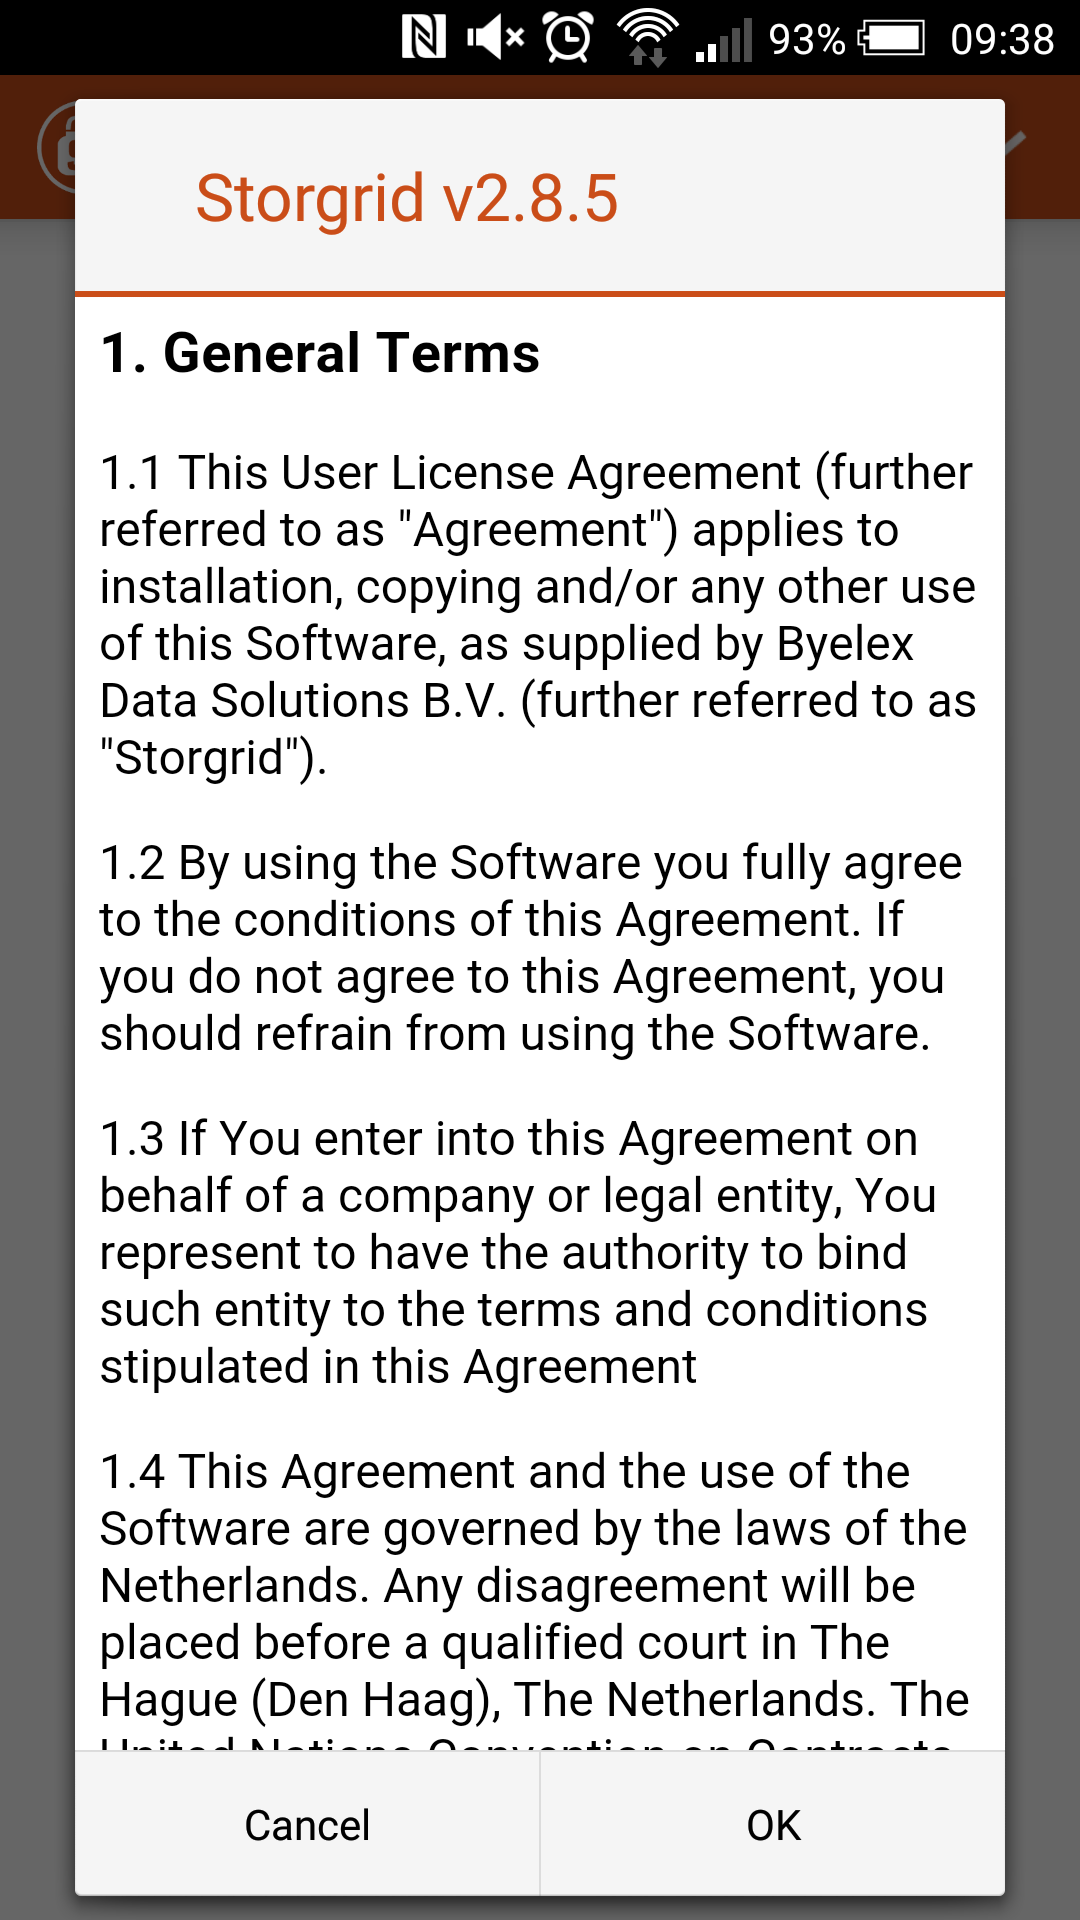
Please read the “Terms and conditions” thoroughly at step 3. Stop using the software if you don’t agree with the terms.
Adding account
Important
You can only add an account with the credentials, please acquire them before continuing. Additionally the screenshots below may differ.
Step |
Action |
Screenshot |
|---|---|---|
|
|
|
|
|
|
|
|
|
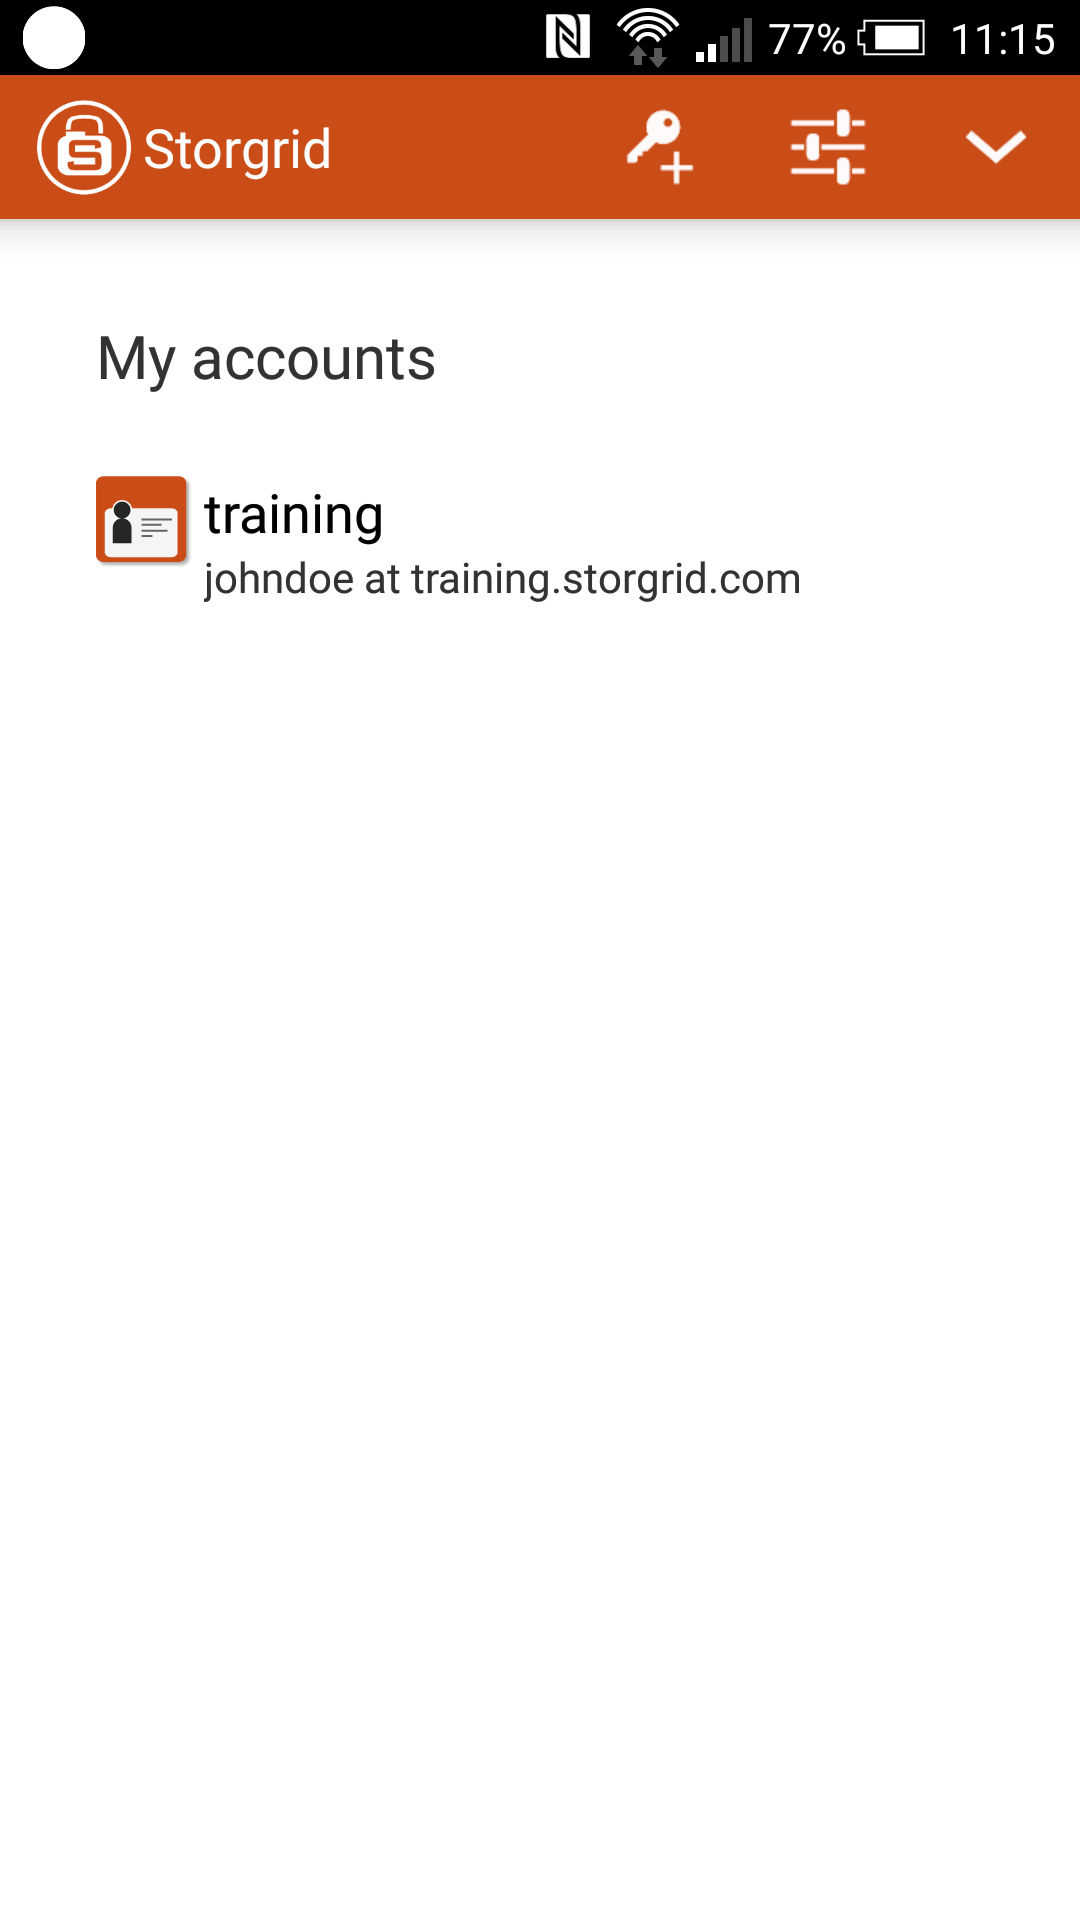
My accounts screen is showed
|
|
|
Navigation screen is shown |
|
|
If the following message appears after completing step 5, |
|
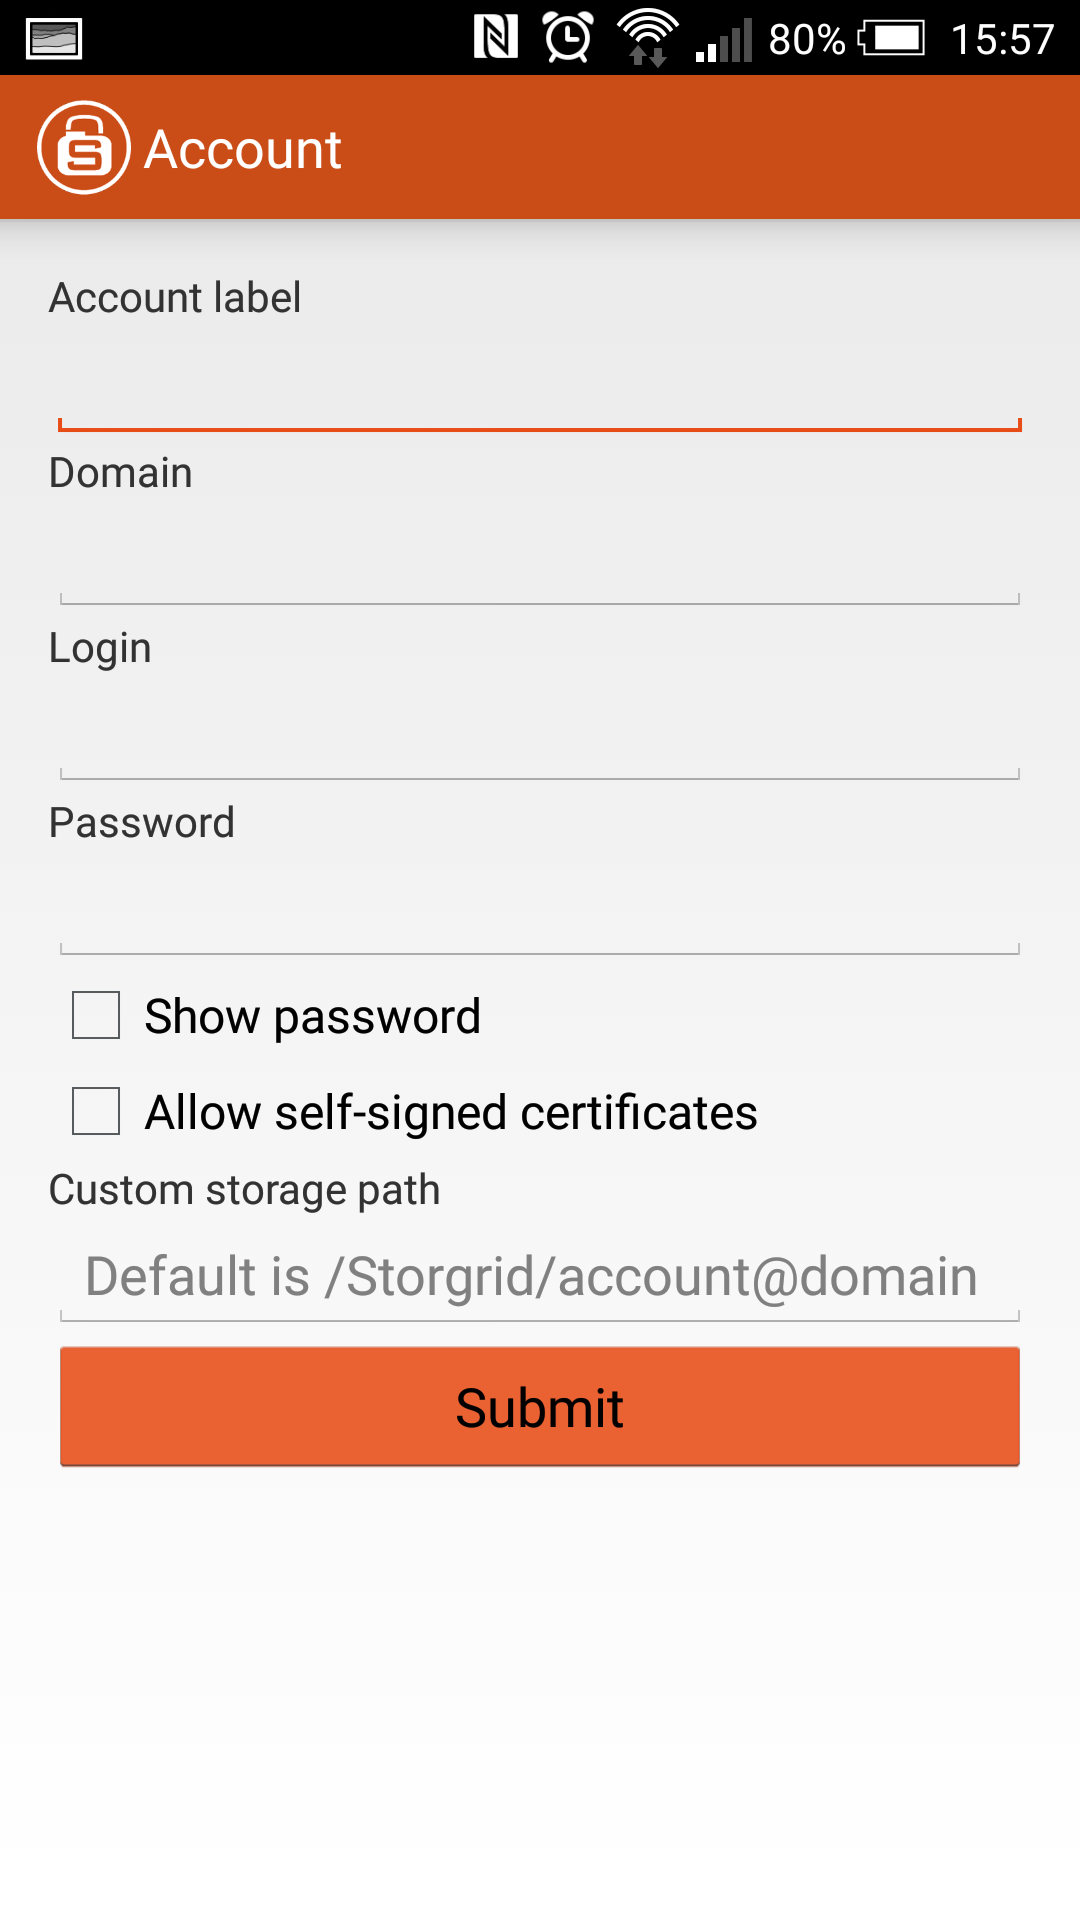


Important
Show password:
Press the Show password box if you are unsure about the password you just typed in.
Allow self-signed certificates:
If the server uses a self-signed certificate you have to enable the “Allow self-signed certificates box”
Custom storage path:
If you want Storgrid to save data in an different place (for example on a flashdisk inserted in the phone) you can change the path by touching the path.
Now the client is associated with the server. In the next part I’ll explain how to work with the client.
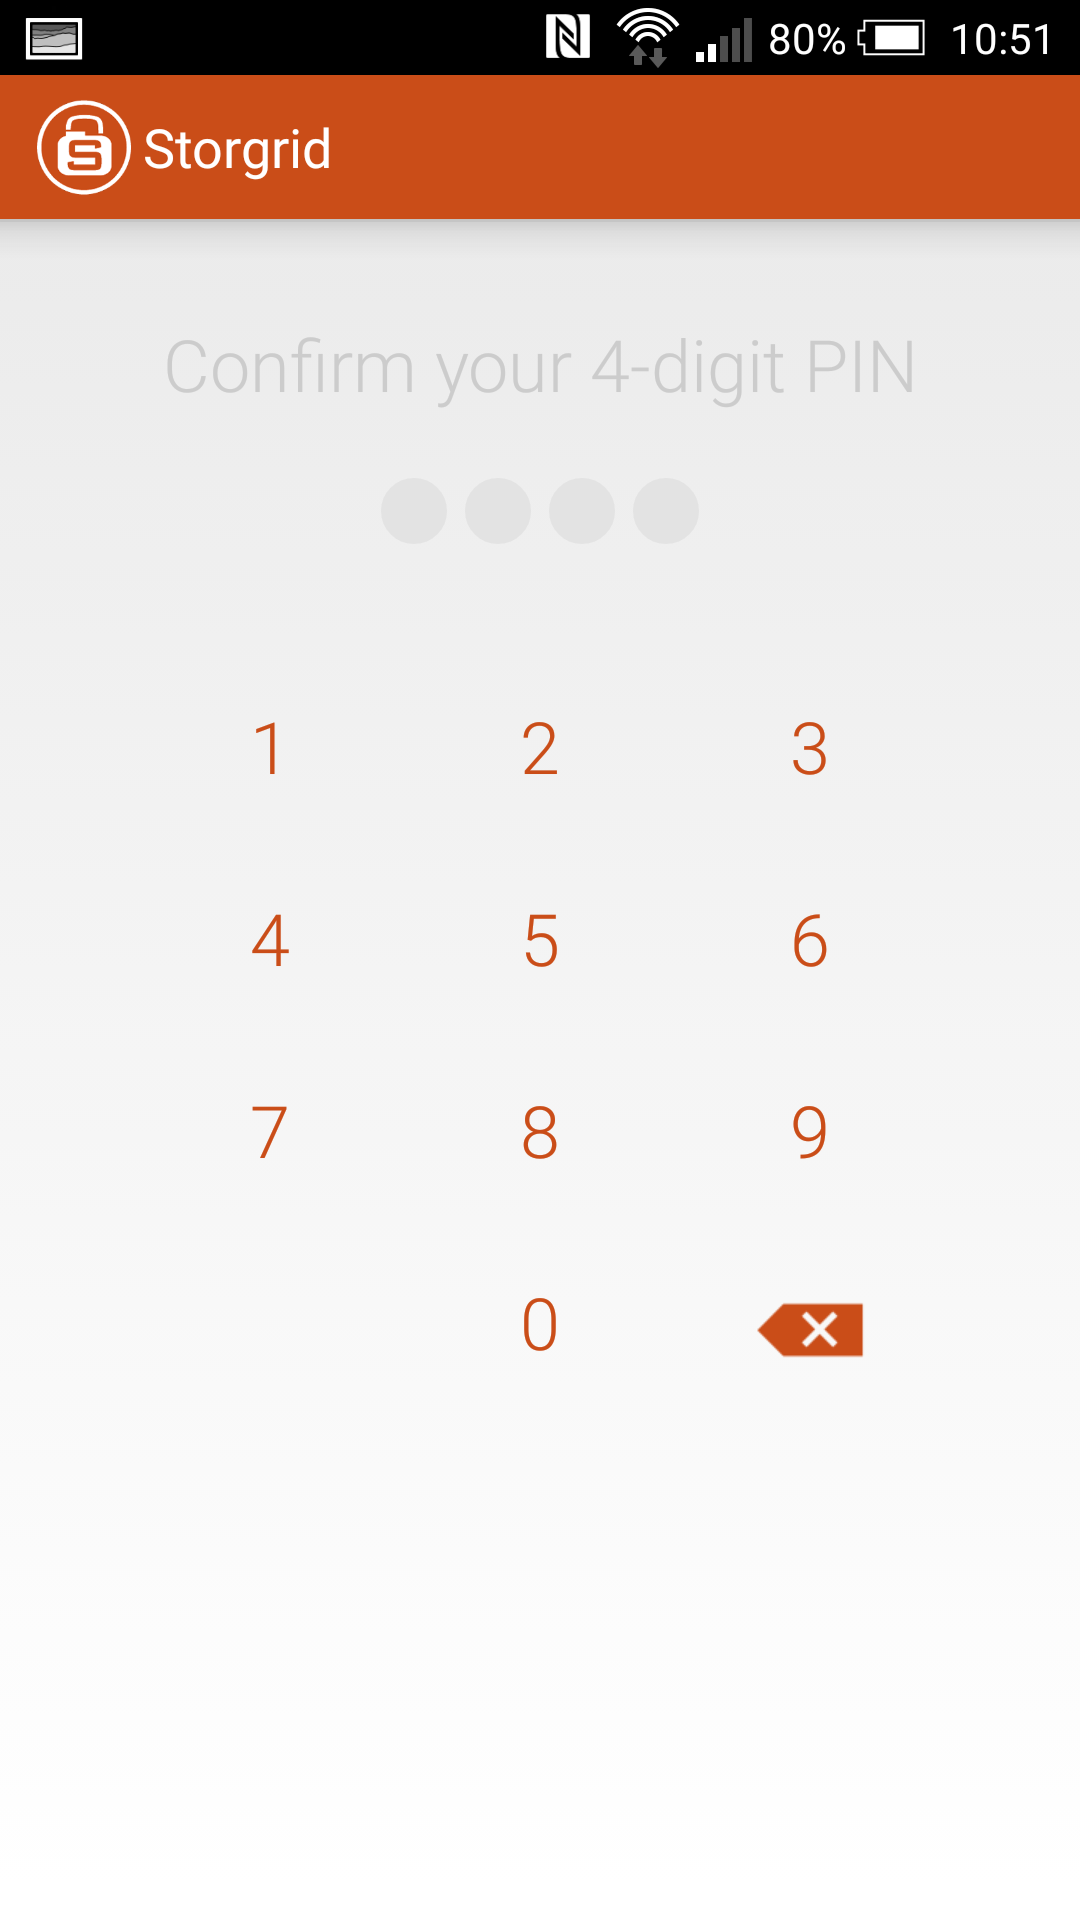
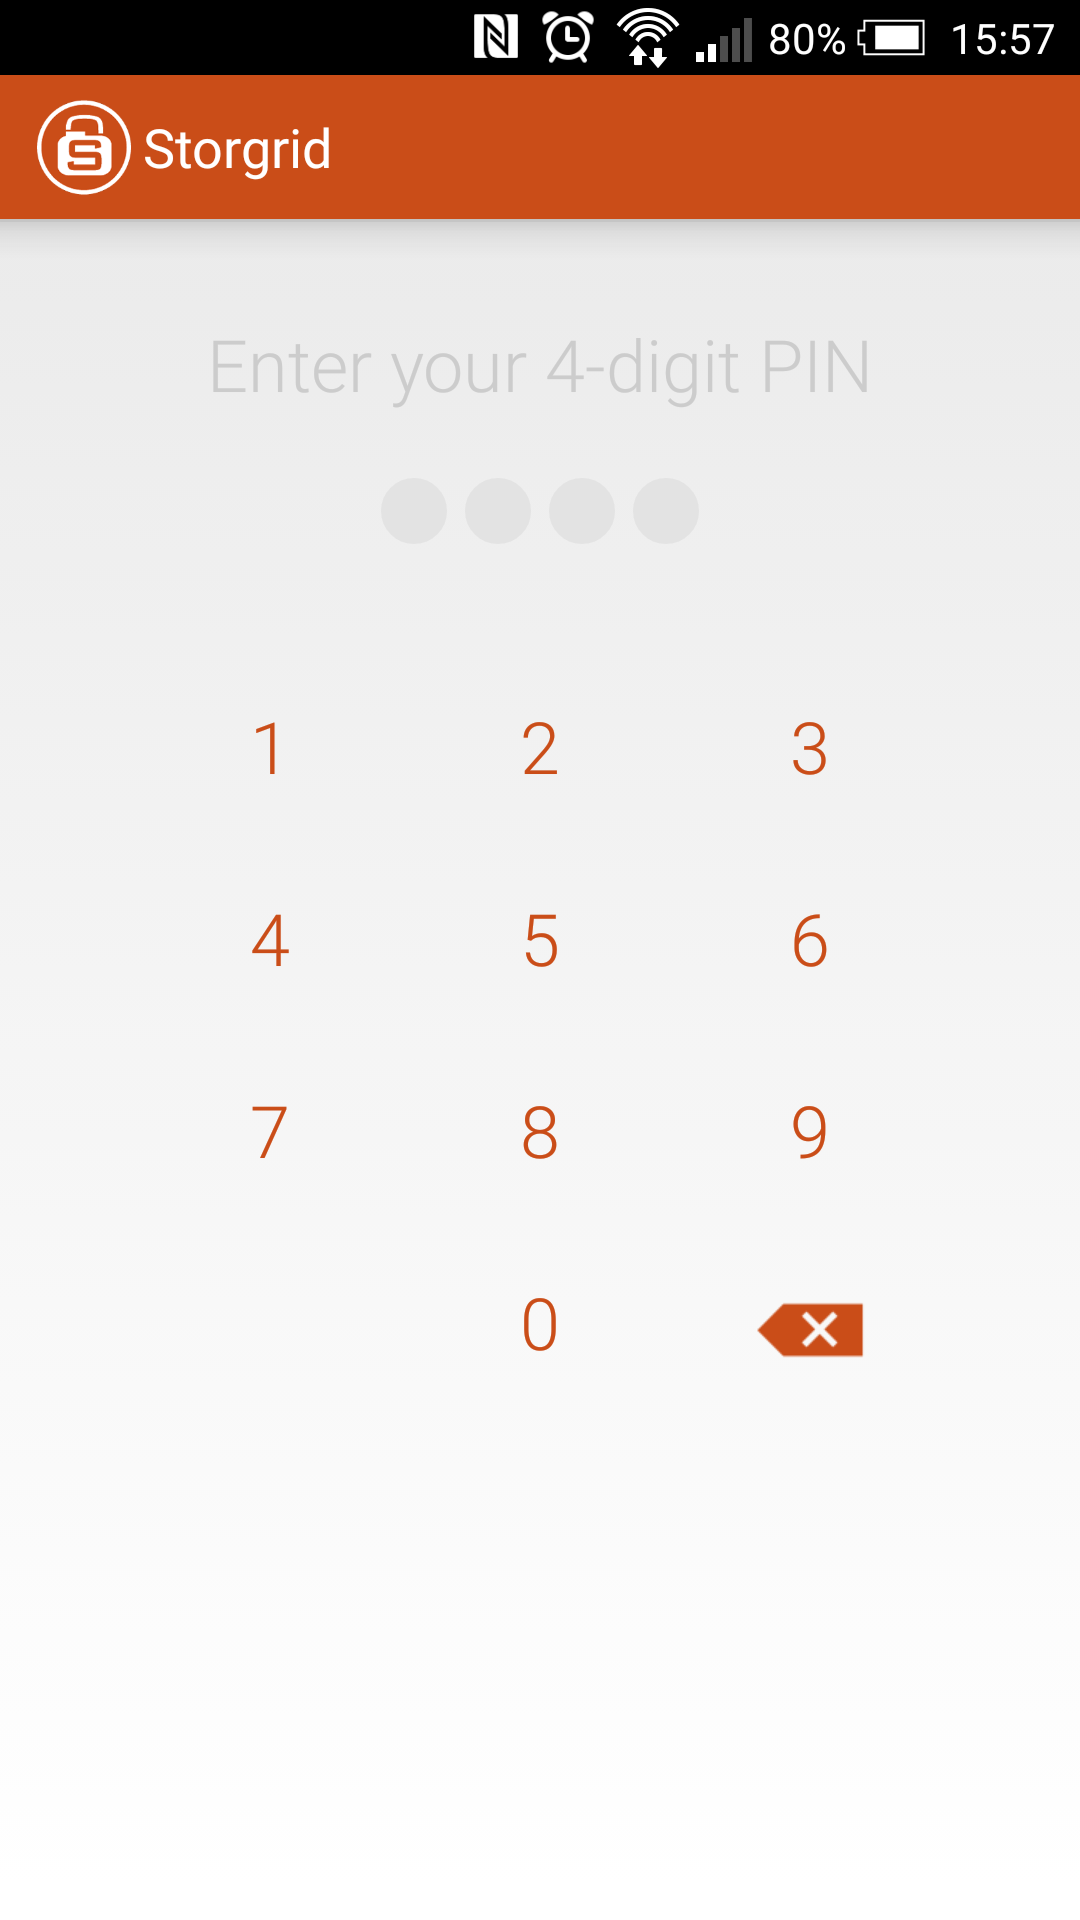
Client side encryption
Storgrid has also the option for Client encryption. This is decided on the server.
If the storgrid server you are connecting to enabled client encryption, the following message appears when clicking on the account you just created:
“Pin using required”
When this is the case, you will need to create a Pin. If this is not the case, you can skip these steps.
Step |
Action |
Screenshot |
|---|---|---|
|
|
|
|
|
|
|
|
|
|
|
|
|
||
|
|
|
|
|
|
Navigation screen is shown |
|


Important
If you want to know more about client side encryption, please click the following link: https://docs.storgrid.com/encryption/introduction.html#client-side-encryption